Upgrades4MGs
Get more from your B... Body Upgrades
Fitting a glass sunroof
Comments: Whilst a Webasto style canvas/vinyl sunroof (Webasto, Britax, Weathershield) is the ultimate period option, there are a number of reasons to consider the alternative glass sunroof which was available in the late 70s and there fore a possibility for the rubber bumper cars in particular.
Firstly, security is better than perhaps with a vinyl roof.
Secondly, even when closed, the sunroof allows more light into a cabin.
Thirdly, less chance of water leaks as the roof ages although the seals can still perish even on a glass roof.
And last, less drumming noise of the vinyl roof at speed, although the glass roof, by the nature of the raised parts, will create more wind noise but less drumming based on my experience.
The above points are a consideration to anyone using a car all Winter on an everyday basis.
The negatives are that with any sunroof, once fitted, there is no going back without serious re-construction of the roof which would normally mean replacing the entire roof - no mean feat! In addition, a full length "canvas" roof will offer a greater feeling of open-top motoring compared to a glass roof, but as mentioned, when closed, it will feel like an ordinary BGT with the additional drumming noise!
The following is a pictorial guideline to the ease with which a reasonably competent DIYer can fit a glass roof within a weekend. As mentioned, it was sourced from Ebay, and is a good quality make, Hollandia being renowned for being an OEM fit in many modern cars and also the current owner of the Webasto trademark. My advice would be to avoid the cheap but more complex units from modern cars that incorporate an electric motor as these do, from experience, reduce the head height within the car. Plus it adds complexity in fitting.
For those with red cars I have seen glass panels tinted red, too.
But remember, the smaller the panel the better the fit. The full length "canvas" roof is actually specific to the make of car, so be warned, although unlike a Beetle, a Mini unit may fit, but check first. The vinyl Webasto type sunroof profiles are usually carefully matched to the roof profile. This is less of an issue on glass roofs as these tend to fit within a smaller area of the roof thus not needing a profile as such.
By Stuart Longstaff (MGOC Member)
The kit was a Hollandia Onyx 750 which came from good old Ebay (I found it whilst looking for a Webasto). It's a spoiler type sunroof that slides and tilts.

Photo 1 - the point of no return.........after holding up template for interior, I drilled through the roof at point B (dead centre) of the actual roof aperture which can be seen marked in Photo 2

Photo 2 - the external template.......the external template also has a point B and is lined up with the drilled hole, then measure "twice" to make sure it's centred and straight.
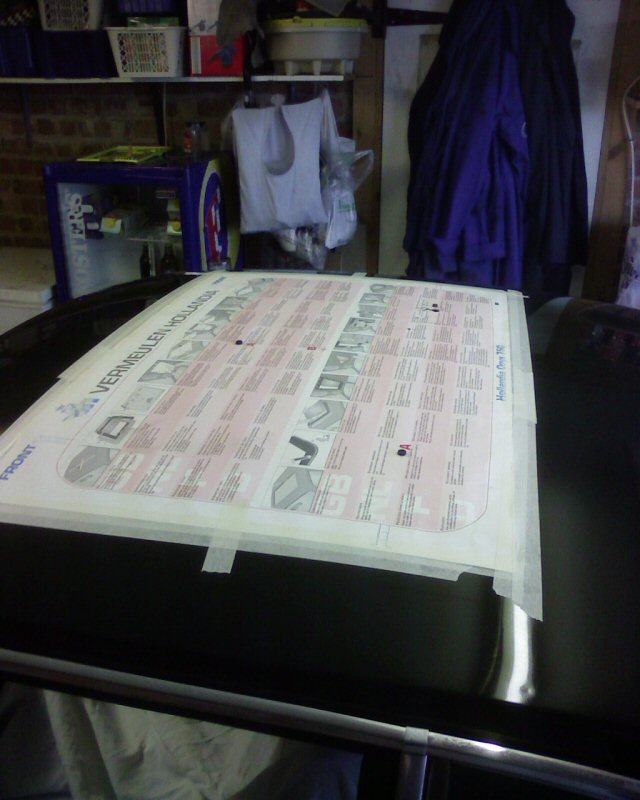
Photo 3 - the internal template.......this is attached by way of 3 x 5mm nut/bolts that are drilled through at point A on the external template and then this lines up with point A on the internal template. Once attached I used a Stanley knife to cut through the headliner around the inner template. Then the internal template is unbolted and removed along with the cut out piece of headliner.

Photo 4 - the cut out.......using a jigsaw with
the finest metal cutting blade, carefully follow the template and cut out the
hole. Then using a Dremel or similar, clean up any rough edges. Make sure any
bits of polish have been removed around from the paint around the hole. Paint
the bare metal to avoid any rusting. Once the paint is dry, put a 4mm bead of
sealer around the edge of the sunroof and fit sunroof into the roof. Then fit
the inner frame and bolt together from the middle out. Clean up any excess
sealer from the outside. Fit the interior trim, stand back and admire.

The finished job...
Closed - view from front

Closed - view from behind

Closed - view from front side

Tilt - view from front
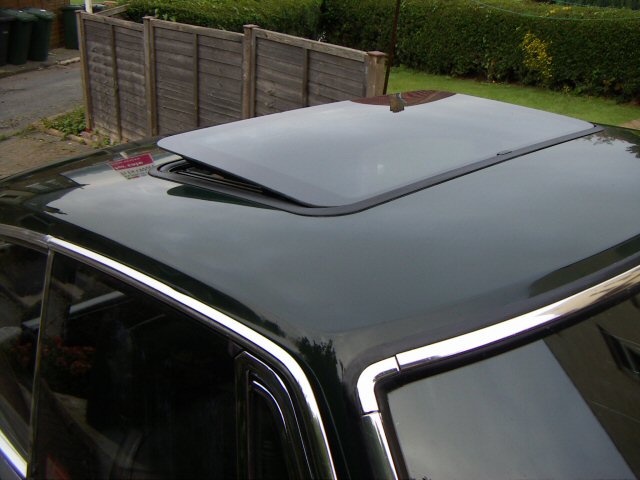
Slide - view from front
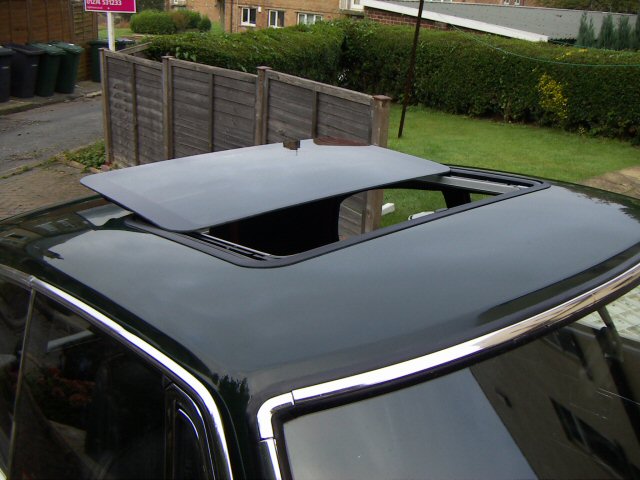
Slide - view from behind
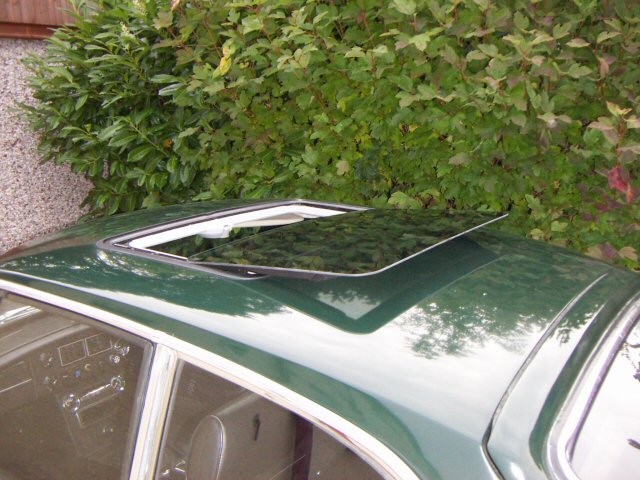
Slide - interior (with flash)
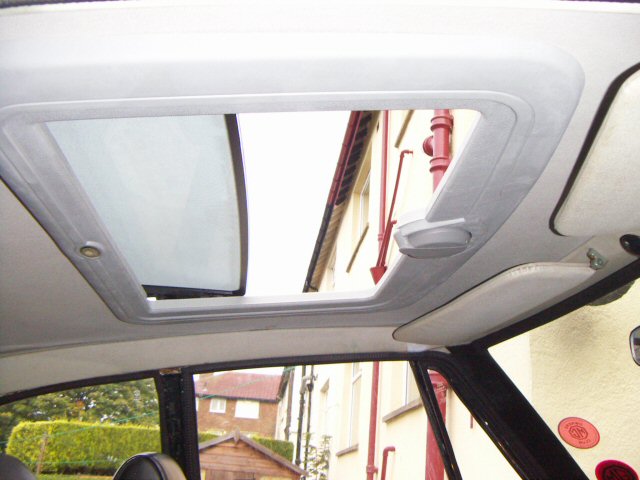
Closed - interior (with flash)

Many thanks to Stuart!
Sunshine in a GT
